Clothing Repairs Worth Considering Before Replacing an Item
A walk through the mending pile: six questions to ask, the four repairs most people can manage, when a patch makes sense, and what to hand to a professional.
A shirt with one button hanging by a thread. Trousers with a hem that dropped on one side three weeks ago. A jumper with a hole the size of a lentil near the cuff. A coat whose lining has parted from the armhole. A dress with a zip that jams halfway.
Almost every wardrobe has a small pile like this, kept because the clothes are liked and unworn because each needs something. The five items above are not equally difficult, and telling them apart is most of the skill. What follows is a way of walking each garment through the same few decisions: is it worth doing, can you do it, and if not, who can.
Step one: look properly, then ask six questions
Lay the garment flat in good light and find the whole extent of the damage, inside and out. Then borrow the checklist the University of Tennessee’s extension service gives in its clothing-repair material:
- How extensive is the damage?
- Do I have the skill to repair it, or do I need to ask someone else?
- Is it worth repairing, considering its age, fashionability, fit and use?
- How much time will the repair take?
- Can I afford to replace it?
- Will I wear it after mending?
The sixth question is the one to answer honestly. If the honest answer is that you will not wear it mended, the kind thing is to pass it on instead of keeping it as a reproach.
The same source makes a point about timing that changes the calculation: repair rips, tears and holes as soon as possible, because what starts as a worn spot or small tear becomes a hole, and the longer it is ignored the larger it gets.
Step two: is it one of the simple four?
Buttons, hems and seams appear in all three of the guides read for this piece, and Woolmark adds darning for knitwear; each is described as a job for a needle, thread and scissors. None is guaranteed to come out invisible, but in our view all are forgiving: a poor first attempt can usually be unpicked and tried again.
Buttons
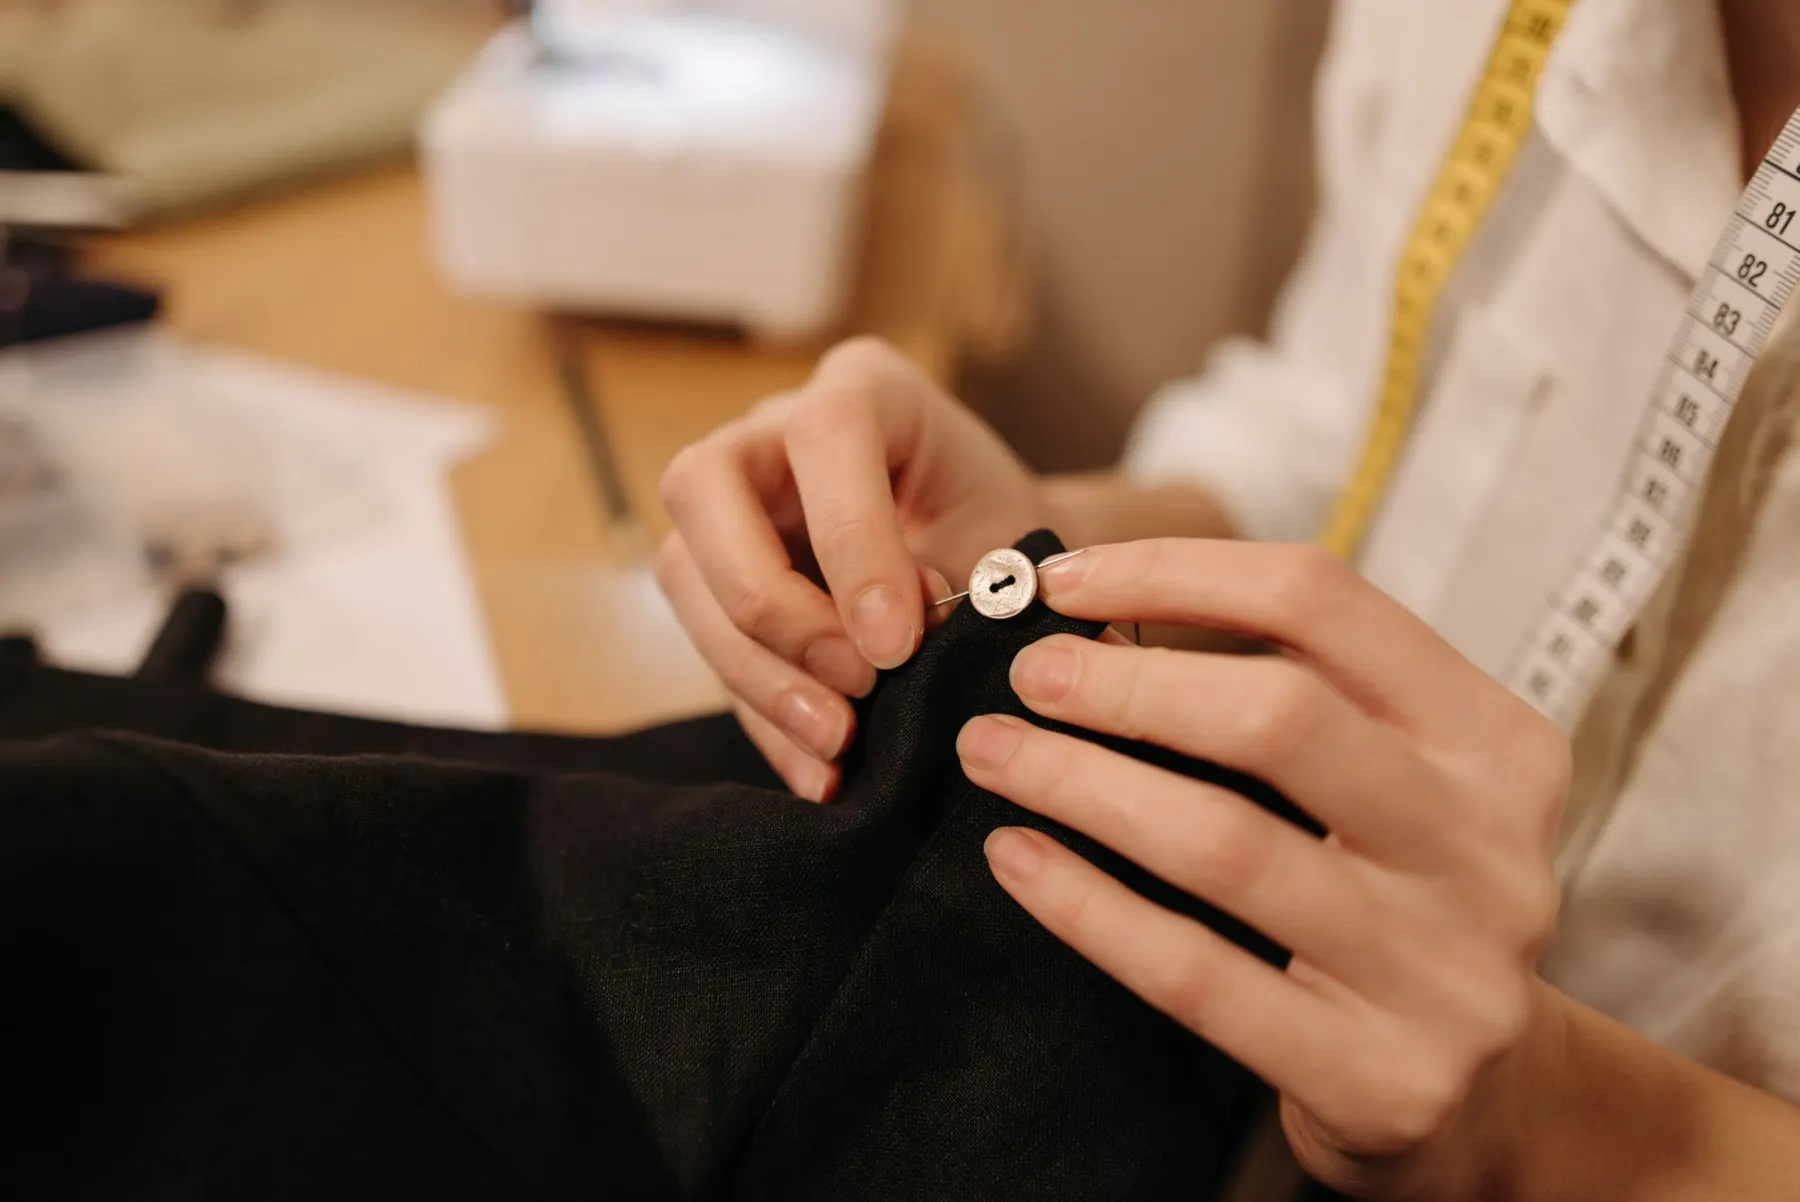
Re-sew a loose button when you first notice the threads loosening, and check the others at the same time. Look inside the garment for a spare; sometimes an extra button is sewn in for exactly this purpose. If a button is lost and cannot be matched, the Tennessee guide suggests a workaround: move a button from the bottom of the placket to the gap and put the odd one near the hem, where it is least noticed.
Two details come from the same guide. A button should be sewn with a shank, which raises it away from the cloth to leave room for the thickness of the buttonhole; the method given by The Woolmark Company, the wool industry’s body, is to wrap the thread six times around the stitches under the button before fastening off. And if the button was torn away and took a piece of fabric with it, the fabric needs a small patch behind it first, before the button goes back on.
Dropped hems
The Tennessee guide’s view is that a hem that has pulled out takes only minutes. Its options run from temporary to permanent: double-faced mending tape as an emergency fix, fusible web strips as a no-sew repair, and hand or machine stitching for a permanent one. For hand stitching, Woolmark’s instructions are to press the hem flat, start a couple of centimetres before the gap, and work just above the hem edge with small stitches about a centimetre apart that catch only the top layer of the hem, keeping the thread slightly loose, since pulling it tight can break it or pucker the cloth.
Fusible products involve an iron, so the care label decides whether they are an option; test inside the hem allowance first.
Small seam splits
A split seam is different from a tear: the fabric is intact and only the stitching has gone, so the original stitch line is there to follow. By hand, the Tennessee guide recommends a backstitch, which it describes as one of the strongest hand stitches, with the thread secured about half an inch from the broken stitching.
It is worth asking why the seam split. The guide lists the usual causes: seams under stress at the crotch, underarm and pockets; a garment that is too tight; and, in knits, a seam sewn with a straight stitch or with thread that could not give with the fabric. Where tightness is the cause, the guide’s remedy is to let the seam out a little, which is a different job.
Small holes in knitwear
Darning closes a small hole in a knit with stitches worked across it. Woolmark’s method uses a needle, thread and something rounded to hold inside the garment, such as a darning egg or a tennis ball: work from the inside, trim loose threads, sew a running stitch around the edges of the hole, going back and forth, and pull the thread gently until it closes. Woolmark says the same method serves for socks and jumpers.
No source promises an invisible darn, and on a fine knit in a plain colour we would expect one to show at close range. Catching the hole while it is small follows from the advice on timing above, and since holes in wool sometimes have a cause, it is worth reading what to check before you put knitwear away for the season.
Step three: is it a patch job?
Between the simple four and specialist work sits patching: a hole or tear in woven fabric, away from a seam. The Tennessee guide treats it as a basic repair, suitable where damage is large or cannot be darned, and gives these rules. Clean the garment first. Trim the damaged area to a square or rectangle. Cut the patch at least an inch larger than the hole. Stitch the edges even of an iron-on patch, since stitched patches look neater and last longer.
The question here is less whether you can do it than whether you will like the result. A patch on the knee of work trousers or the elbow of a casual jacket can look intentional; on the front of a fine shirt it is harder to carry off. Fusing a patch can also add stiffness, the guide notes, which matters where fabric needs to bend. If the garment is one you want to look unmended, this is where to stop and get an opinion.
Step four: recognising skilled work
Some jobs are replacements, not repairs. The Tennessee guide’s term for removing a part of a garment and installing a new one, such as a zip, elastic or a waistband, is replacement, and it notes that this usually requires more time and some skill. In our view the following are normally worth taking to a professional alterations tailor, a specialist repairer or, for shoes and bags, a cobbler:
- Zips that need replacing, especially in trousers, lined skirts and coats. A zip that merely sticks or has lost its pull is a smaller problem and sometimes fixable at home.
- Linings that have torn or shredded, as opposed to a short length of lining seam that has come unstitched.
- Tailored garments: anything involving a jacket’s shoulders, collar or lapels, or re-cutting trousers.
- Tears in the body of fine, sheer or slippery fabrics, where every stitch shows.
- Holes in fine knitwear where an inconspicuous result matters. Specialist knitwear menders exist; ask what result is realistic before agreeing.
- Leather, suede and fur, where we would not want to learn by trial and error. Our shoe care basics cover what is reasonable at home for footwear.
- Anything beaded, pleated, or of sentimental or monetary value.
StopWaste, a public waste-reduction agency in California, lists six common repairs, from buttons to hems, as things that “you or your local dry cleaning or alteration shop” can do, a reminder that a dry cleaner’s counter can be a place to ask. Before agreeing to anything, ask whether the mend will show and whether the garment is strong enough to be worth it.
Step five: when the answer is no
Some damage is the fabric itself wearing out: cloth gone thin and shiny across a seat, a collar frayed along its whole fold, elastic that has perished throughout. A patch or darn can reinforce a single thin place; in our view it cannot renew a whole area, and new stitches are only as strong as the cloth they are sewn into.
At that point the options are to demote the garment to rough wear, where appearance no longer matters, or to let it go. Neither is a failure. If the pile is large, sorting it garment by garment is a natural part of a practical wardrobe audit.
Sources
- University of Tennessee Extension (4-H), UT Institute of Agriculture Activity 10: Repair Your Clothes: Save Money and Look Great (W 885)
- The Woolmark Company How to repair wool
- StopWaste (public agency, Alameda County, California) - RE:Source guide Textiles: DIY Clothing Repair