Taking Useful Outfit Photos for Your Own Reference
One spot, window light, the whole outfit including shoes, and a line of notes in the evening. A set-up that takes thirty seconds a day and stays on your phone.
A mirror tells you how an outfit looks now. A photograph tells you how it looked last Thursday, next to how it looked the Thursday before, and that comparison is where most of the useful information is. The pictures do not need to be good. They need to be consistent, complete and easy to find again.
This is a set-up guide. Done once, it reduces the daily effort to about thirty seconds.
Choose one spot with good light, and keep it
Pick a place at home where you can stand about two to three metres from the phone with a plain background behind you: a blank wall, a closed door, a wardrobe front. Plain matters because the outline of the clothes is what you will be reading later, and a bookshelf or a patterned curtain makes it harder to see.
Use the same spot every time. When the background, distance and angle are fixed, any difference between two photos is a difference between the outfits. If the spot changes, you end up comparing rooms.
Daylight from a window gives the most reliable idea of colour. Stand facing the window, or at a slight angle to it, with the phone between you and the glass. A window behind you turns you into a dark shape against a bright rectangle.
Direct sun is harsh and throws hard shadows; a bright overcast day or a window out of direct sun is kinder. On dark mornings, switch on every light in the room and accept that colours will look warmer than they are. A pale wall or door opposite the light source helps by bouncing some of it back.
Mirror or timer
There are two practical ways to take the picture alone, and each has a cost.
| Mirror photo | Phone propped, on a timer | |
|---|---|---|
| Speed | Fastest; no set-up | A few seconds more once the prop is in place |
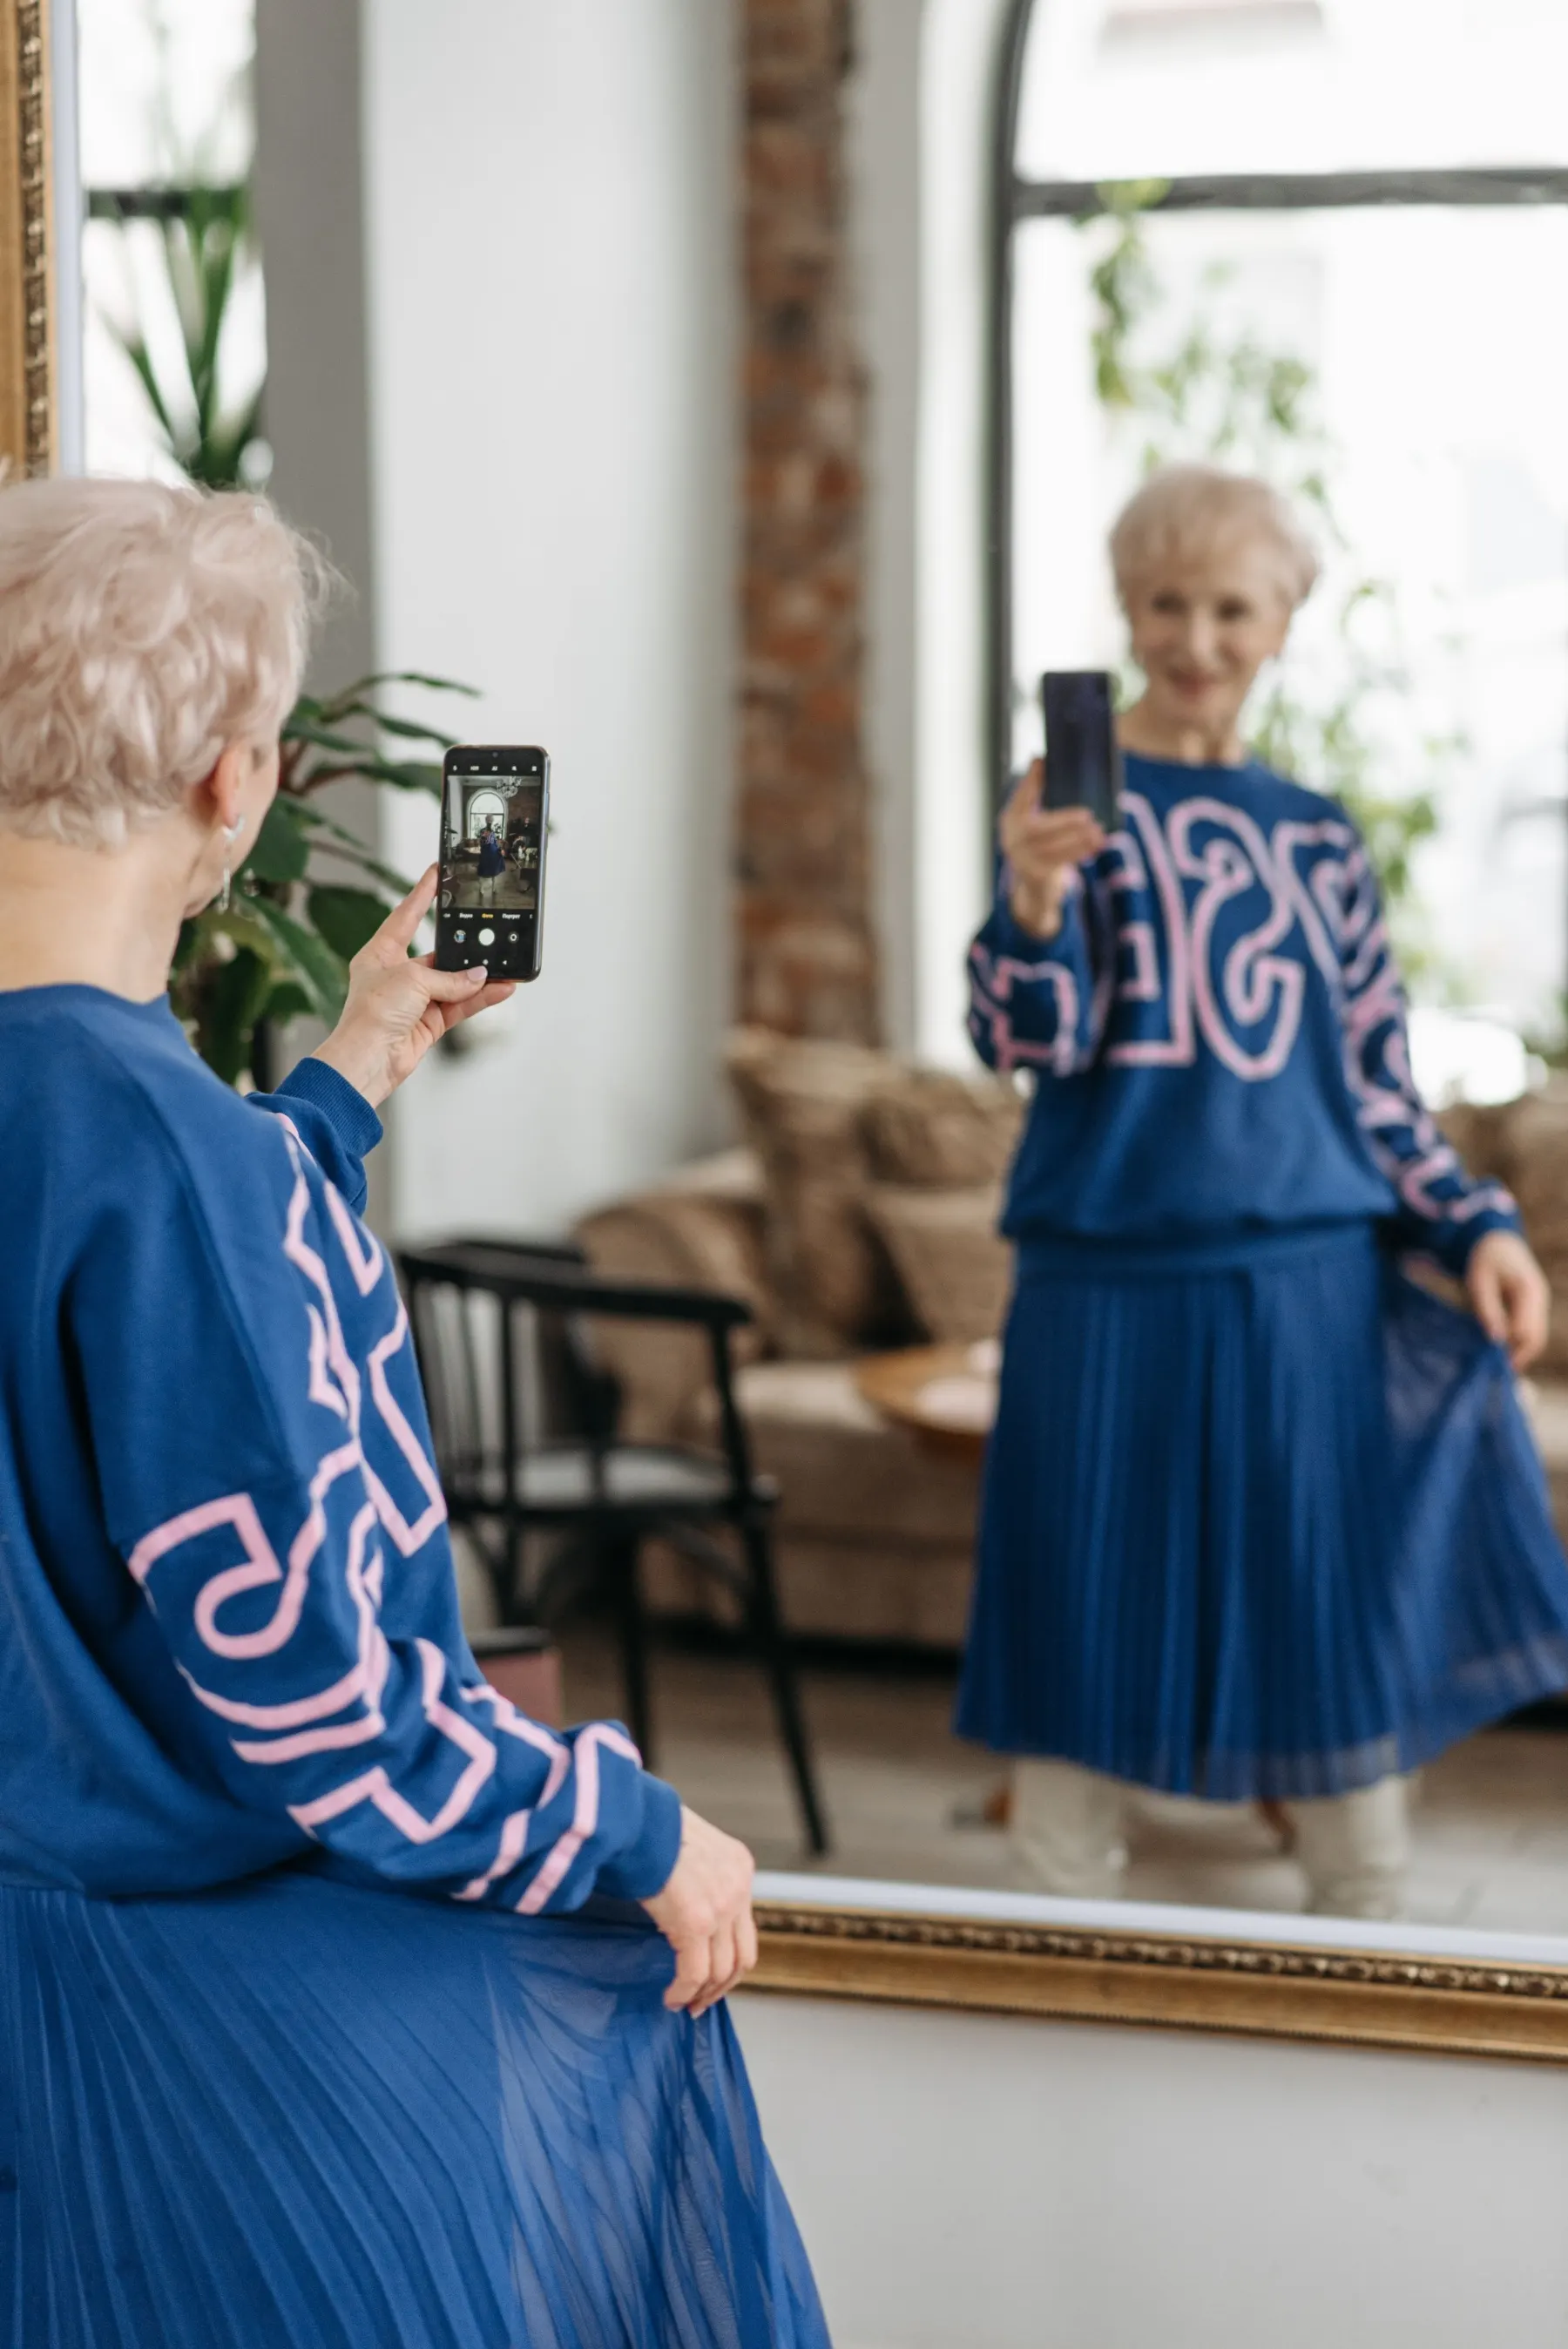
| What you see | The outfit reversed left to right, with the phone and one arm in the picture | The outfit as others see it, both arms relaxed |
| Framing | Depends on the mirror being full length and clean; easy to cut off the shoes | Fixed once you have found the right height and distance |
| Best for | Days when it is this or nothing | A record you intend to compare over weeks |
If you use a mirror, hold the phone at about chest height and to one side, so that it does not cover the neckline. If you use a timer, most phone cameras have one in their settings, commonly with a choice of a few seconds’ delay. Prop the phone upright on a shelf, a chair back or a stack of books, at roughly waist to chest height and as level as you can get it. A phone tilted up from the floor or down from a high shelf distorts lengths, which matters if you are studying where hems and waistbands fall.
Mark the spot. A small piece of tape on the shelf for the phone and a mental note of which floorboard you stand on will make every later photo match the first.
Frame the whole outfit
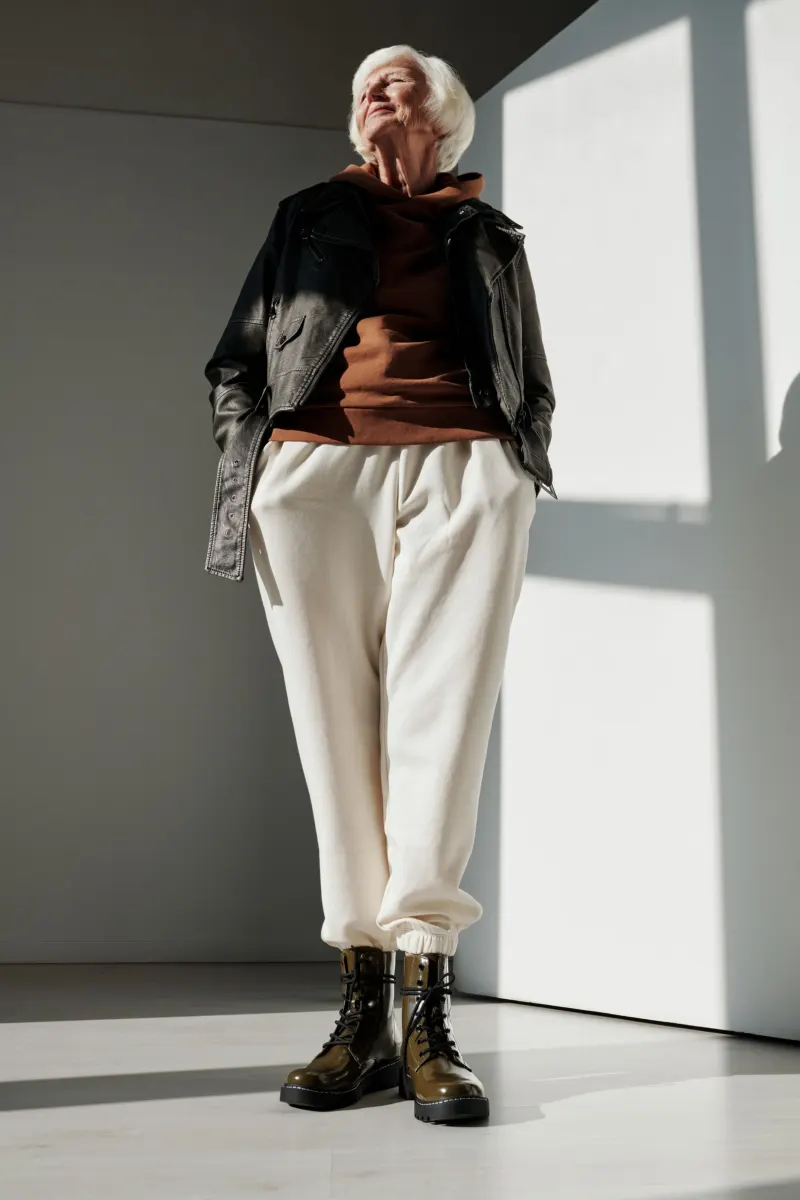
Hold the phone upright and leave a little space above the head and below the feet. Shoes are part of the outfit and change it more than most people expect, so a photo that stops at the shin has lost a good deal of what it was for.
Stand as you actually stand, facing the camera, arms loose. Then take up to three pictures:
- Front, complete. Outer layer on and worn the way you will wear it outside.
- Front, without the outer layer. This is the outfit people see indoors, and often the one that needs the most thought.
- Side or seated, if you are checking something specific: how a jacket hangs at the back, where a hem goes when you sit.
On most days the first is enough. If you are comparing ways of wearing the same clothes, such as tucked and untucked or belted and unbelted, the fixed set-up is what lets you see the change clearly; understanding proportion uses it for exactly that experiment.
File them so that you can find them
Outfit photos scattered through a camera roll among receipts and screenshots will not be looked at again. Make one album called something plain, like “Outfits”, and move each picture into it on the day. If you want more order later, split by season or by part of life (work, weekend, occasions), but one album is enough to begin.
A small sorting habit pays off quickly: mark the outfits you were pleased with as favourites, or copy them to a second album. After a month this short list is the raw material for several other exercises, including finding your style through outfits you already like and a compact outfit mood board.
Add one line of notes in the evening
A picture records how the outfit looked. It cannot record how it felt at four in the afternoon. Most phone galleries let you add a caption or description to a photo; if yours does not, keep a single running note with the date and a line for each day.
Keep the line short and factual. Useful things to write down:
- the weather and what the day involved (“9°C, rain, office then dinner”);
- anything you adjusted or took off (“jumper off by noon”, “kept pulling the waistband up”);
- comfort of the shoes by the end of the day;
- one word for how you felt in it;
- what you would change next time (“same, with the brown boots”).
These notes turn a gallery into a record. Over a few weeks they show which clothes you wear with pleasure and which you only put up with, which is useful material to bring to a practical wardrobe audit.
Keep them yours
These pictures are working notes. There is no need to post them, send them to anyone or make them presentable, and they tend to be more honest when you know nobody else will see them.
A few minutes in your phone’s settings is worthwhile. Check whether your photos are being copied automatically to an online account, and whether the outfits album sits inside any album you share with family or friends. Check whether the camera saves the place where each photo was taken, and switch that off for these pictures if you would rather it did not. If your gallery app offers a locked or hidden folder, that is a reasonable home for them.
Should you ever want a second opinion on an outfit, crop the picture from the shoulders down before sending it. The clothes are all the other person needs to see.
Review once a month
Put ten minutes in the diary at the end of each month. Scroll the album as small thumbnails and look for repeats: the same trousers in half the pictures, a jacket that appears only in favourites, a colour that never turns up at all. Delete duplicates and blurred shots, keep one picture per outfit, and read the notes for anything that came up more than once. Then carry on.